Guide: 5 ways to make video in code with Claude
The five ways I make video by asking Claude for code, not asking an AI video tool for images. With what to install and a ready request.
- Claude
Translated from the Portuguese original.Read the original
In this guide
In this guide you'll learn five ways to make video by asking Claude Code for code, instead of asking an AI video tool for the finished image.
You don't need to know how to code. You'll install one or two programs, paste a request in plain English and wait for the computer to draw. I used each of these ways in videos on my channel, and below I tell you how it went. In none of them did an AI generate the image of the scenes: Claude wrote the code, and the computer drew.
✅ WHAT YOU'LL NEED
- Claude Code, which comes with every paid Claude plan (Pro costs US$ 20 a month). It writes the code.
- Node.js (version 22 or newer, which is what HyperFrames asks for). It runs ways 1, 2 and 3.
- FFmpeg, which joins the frames into a video file. All five use it. On a Mac:
brew install ffmpeg
- Google Chrome, for the ways that draw inside the browser.
- Python 3, for way 5. Macs usually have it already.
If you've never installed Claude Code, steps 1 and 2 of the guide to editing reels with Claude Code show you how.
👉 Tip: create a new folder for each video, open the terminal inside it and type claude. All the requests below are meant to be pasted there.
1️⃣ HYPERFRAMES: AN HTML PAGE THAT TURNS INTO VIDEO
What it is: a free program from HeyGen. Claude writes each scene as a web page, and HyperFrames turns the page into an MP4.
When to use it: when you have a recorded video and want captions, animation on top and sound, or when you want a short animation with text.
What to install:
claude plugin marketplace add heygen-com/hyperframes
claude plugin install hyperframes@hyperframes
Request to paste:
Use HyperFrames to put together a 1080x1920 reel from my bruto.mp4. Cut the silences, add captions with the word I'm saying highlighted in yellow, and an animation on the top half that shows what I'm talking about. Show me the preview before rendering.
Where I used it: in the video where Claude edited a whole reel of mine (10/14/2026). I only recorded it. Claude cut the silences, wrote the captions, drew the top animation in code and added the sounds, and HyperFrames rendered it. The full step by step is in the guide to editing reels with Claude Code, and HyperFrames also shows up in the guide to 5 video skills.
2️⃣ HEADLESS CHROME: A CANVAS PHOTOGRAPHED FRAME BY FRAME
What it is: Claude draws each scene on a canvas, a drawing area inside a web page. A script opens Chrome with no window, asks for one frame at a time and passes the images to FFmpeg, which builds the video.
When to use it: when you want a drawing your way, with full control of every stroke, and don't want to depend on any video program.
What to install: Chrome, FFmpeg and the library that controls Chrome. In the video folder:
npm install puppeteer-core
Request to paste:
Make a 30-second video, 1080x1920, at 30 frames per second, drawn on a canvas in film.html. Each scene is a function that takes the time and draws the frame. Also write a render.mjs that opens Google Chrome with no window using puppeteer-core, asks for one frame at a time and sends it straight to ffmpeg, without saving loose PNGs. The theme is the history of coffee in Brazil, drawn with a brown ink line. Show me three test frames before rendering everything.
Where I used it: in 500 years of Brazil (9/27/2026). It's 29 scenes in HTML and canvas, 89 seconds at 1080x1920, and headless Chrome photographed every frame, which FFmpeg joined into the video.
3️⃣ THREE.JS: 3D INSIDE THE BROWSER
What it is: a library that draws 3D on a web page. Claude builds the scene, moves the camera in code, and headless Chrome records frame by frame, just like way 2.
When to use it: when the idea needs depth: pieces stacking up, a camera moving around something, an object spinning.
What to install: in the video folder:
npm install three puppeteer-core
Request to paste:
With three.js, make a 20-second 3D scene, 1080x1920, where colored boxes stack on top of each other until they form a tower, with the camera always moving around it. Each frame has to come out the same every time I render, based on time and not on the clock. Record it with Chrome with no window and puppeteer-core, and put it together with ffmpeg.
Where I used it: I built the first version of the video on how an LLM is born with it. It explained everything with a stack of layers in three.js, with the camera always moving and each layer coming in on the word where I talked about it. That version never went live: after comparing them side by side, I picked a dark interface drawn on canvas, like way 2, and that's the one that went live on 10/07/2026. The three.js version stayed saved as a model.
4️⃣ BLENDER DRIVEN BY A SCRIPT
What it is: Blender is a free 3D program. It accepts a Python script that builds the whole scene, without you clicking anything. Claude writes the script and Blender renders without opening a window.
When to use it: when you want 3D with real light and materials: a city, a landscape, a whole place.
What to install: on a Mac:
brew install --cask blender
Request to paste:
Write a cena.py for Blender that builds a city street with simple buildings, with no people at all, and makes weeds grow through the asphalt over 20 seconds. Use EEVEE, 1080x1920, 30 frames per second and few samples so it renders fast. Give me the command to render in the background, first just three test frames.
The command it gives you back looks like this:
blender -b -P cena.py
Where I used it: in São Paulo with nobody in it (10/17/2026). The whole city is a scene made in Python in Blender, and each second of the video decides how much time has passed with no people on the streets. It took about 3 seconds per frame, around 2h10 of rendering in total.
5️⃣ AN ENGINE THAT DRAWS WITH LETTERS
What it is: a Python program that computes the scene in 3D and swaps each piece of the image for a letter with the same shape. The whole video comes out made of characters.
When to use it: when you want a terminal look that nobody mistakes for an AI image.
What to install:
pip3 install numpy pillow
Request to paste:
Write in Python, with numpy and Pillow, an engine that draws a 3D scene in characters: compute the image ray by ray, split it into 5x10 pixel cells and pick, for each cell, the character whose shape is closest. The scene is a library corridor with the camera moving slowly. 20 seconds, 1080x1920, 30 frames per second, frames straight to ffmpeg.
Where I used it: in the video where Claude shows its own mind (10/16/2026). The top panel is a library of six-sided galleries, computed ray by ray with numpy and turned into characters, with the soundtrack also synthesized in code.
➕ BONUS: LEMO OPUSCAR'S TERMINAL STYLE
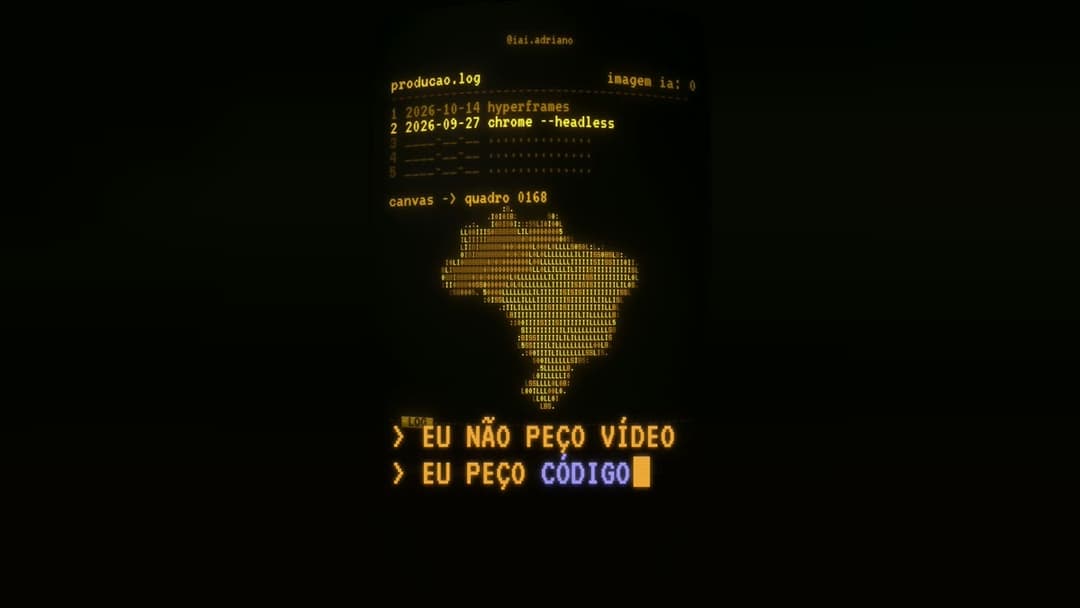
The video where I show these five ways uses Lemo Opuscar's ascii-crt style: everything is letters on a grid, with the amber glow of an old monitor. Lemo Opuscar is a free skill (MIT license) with dozens of film styles made in code. Install it like this:
claude plugin marketplace add lemomo-ai/lemo-opuscar
claude plugin install lemo-opuscar@lemolab
And ask:
Use Lemo Opuscar in the ascii-crt style and make a 30-second film, 1080x1920, about an old computer that turns itself on in the middle of the night. Show me the storyboard before rendering.
The other styles and what to watch out for are in the guide to 5 video skills.
🤔 WHICH ONE TO PICK
- You already have a recorded video: HyperFrames.
- You want 2D drawing your way: headless Chrome with canvas.
- You want light, fast 3D: Three.js.
- You want cinematic 3D and have time to render: Blender.
- You want a terminal look: the letter engine, or Lemo Opuscar's ascii-crt if you don't want to write the engine.
⚠️ COMMON MISTAKES
- puppeteer-core can't find the browser: it doesn't download any Chrome. Ask Claude to point to the path of the Google Chrome installed on your computer.
- Text that doesn't show up in the video: the Homebrew FFmpeg doesn't have the text-drawing filter. Ask it to draw the text as an image with Pillow and lay it on top.
- A Blender render that never ends: São Paulo took about 2h10. Render three test frames first and lower the samples if it's slow.
- Asked for the whole video at once: ask for three test frames, approve the look and only then render everything. Redoing a frame takes seconds; redoing the video takes the whole render.
🎯 SUMMARY
Ask Claude for the code that draws the scene and let the computer draw it. Pick one of the five ways, install what it needs, paste the request and approve three test frames before the final render.